在x86 模擬環境下測試ARM Ubuntu
內容表格
- 1. 步驟開始
- 2. 設定模擬系統與實體系統可做檔案交換
步驟開始
(https://wiki.edubuntu.org/ARM/BuildArmPackages)
建立工作目錄
mkdir arm_ubuntu-lucid
cd arm_ubuntu-lucid
安裝必要套件及下載 rootstock
sudo apt-get install debootstrap fakeroot bzr
bzr branch lp:project-rootstock
TIPs
bzr 這行指令會上網下載 rootstock 相關檔案,故須保持外網暢通。
rootstock 可以自動建立一個 rootfs 的 tarball 檔,詳見此連結。
下載 Lucid 的 vmlinuz 檔
wget http://ports.ubuntu.com/ubuntu-ports/dists/lucid/main/installer-armel/current/images/versatile/netboot/vmlinuz
建立系統映像檔 qemu_ubuntu-lucid_arm.img
sudo project-rootstock/rootstock --fqdn ubuntu --login ubuntu --password ubuntu --notarball --imagesize 3G
mv qemu-armel-201203301652.img qemu_ubuntu-lucid_arm.img
TIPs
系統建立映像檔時需要一些時間,請耐心等候。
產生的檔名會以日期來命名。
啟動模擬系統
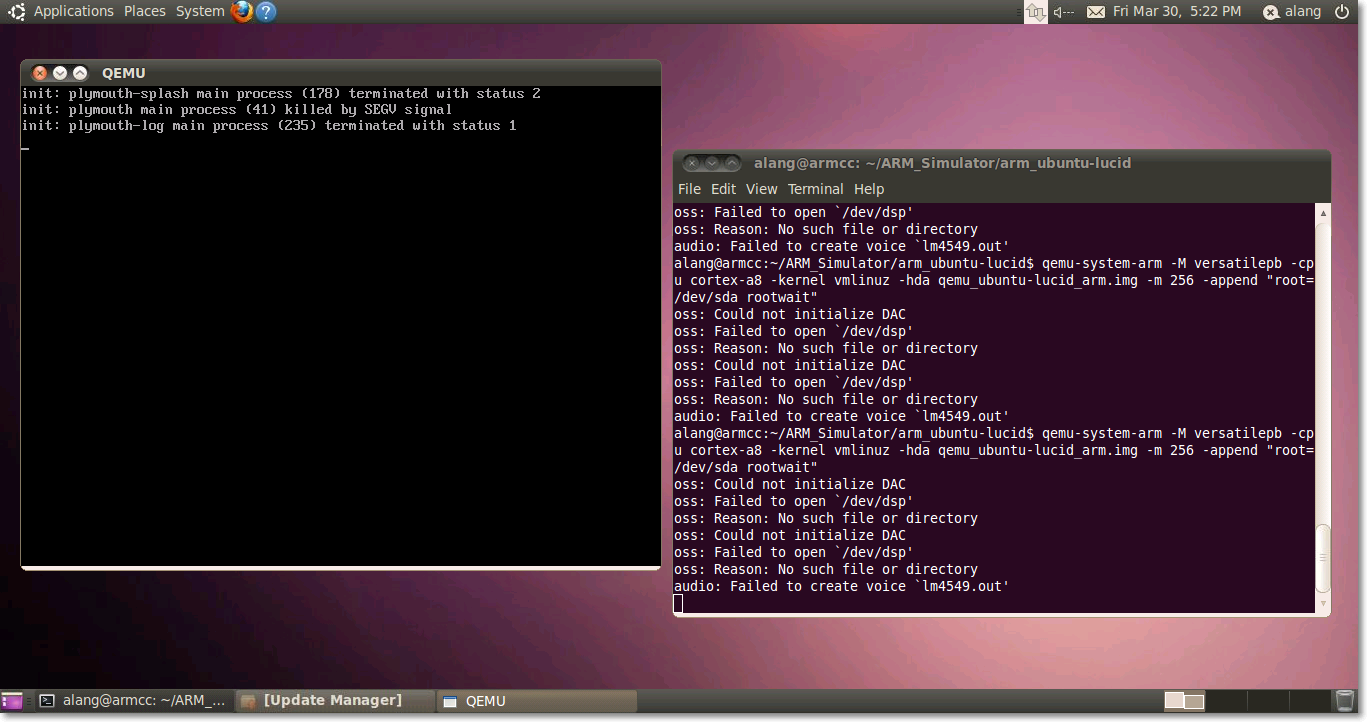
qemu-system-arm -M versatilepb -cpu cortex-a8 -kernel vmlinuz -hda qemu_ubuntu-lucid_arm.img -m 256 -append "root=/dev/sda rootwait"
如果看到以下的畫面,就表示成功。
接著按下 ALT+F1,會出現登入提示,以 ubuntu : ubuntu 登入。
設定模擬系統與實體系統可做檔案交換
為了要與模擬系統做檔案交換,必須先設定好網路。
先設定模擬系統的網路為 DHCP
vi /etc/network/interface
interface:
auto eth0
iface eth0 inet dhcp
啟動網路 eth0
sudo ifconfig eth0 up
sudo dhclient eth0
TIPs
正常系統會分配到 IP 10.0.2.x,這是由 qemu 內部所分配的。
設定實體系統(Host)的網路
Powered by MindTouch Core